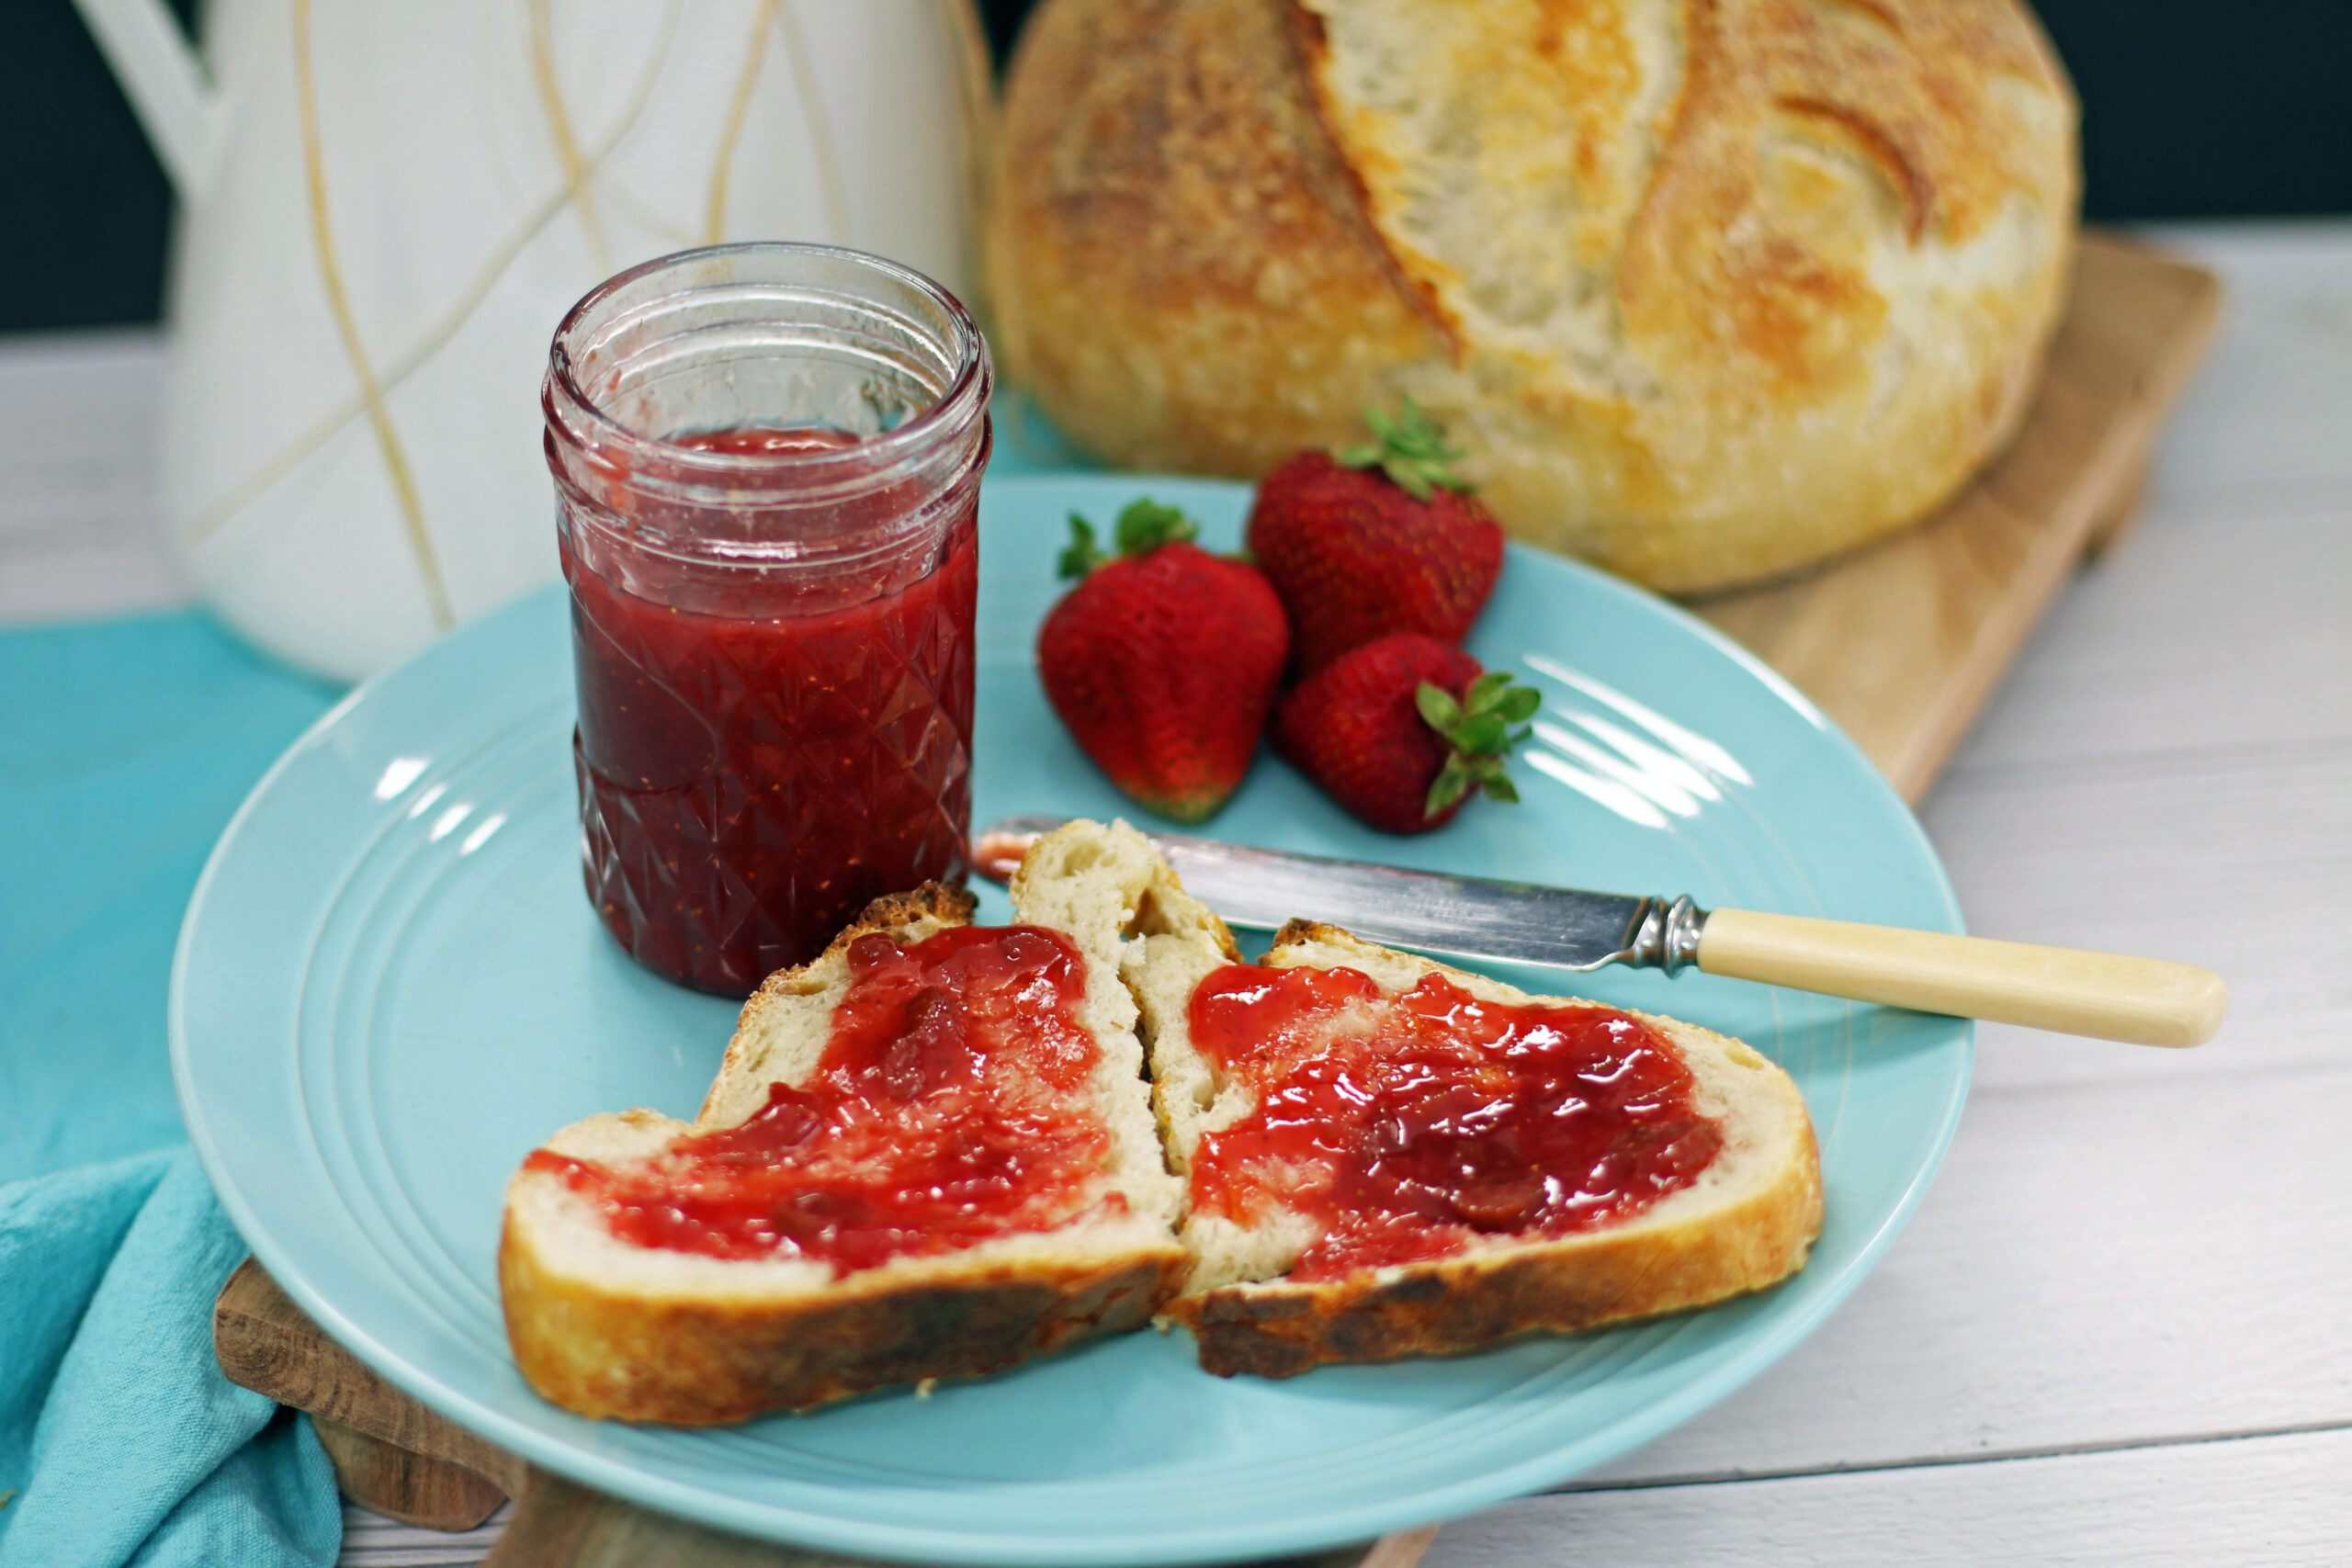
The BEST Strawberry Rhubarb Jam (with no Pectin)
Summer in a jar! Rich deep color with chunks of tart rhubarb and plump sweet Strawberries are the perfect combination for this fabulous jam
Print
Pin
Servings: 6 cups
Equipment
Ingredients
Ingredients
- 6 cups - sliced or crushed fresh strawberries
- 4 cups - diced rhubarb
- 6 cups - sugar
- 2 - 3 tbsp - finely grated orange rind
Optional
- 3 tbsp -bottled lemon juice (optional)
Instructions
- Combine strawberries, rhubarb and sugar in a large glass bowl. Cover with plastic wrap and store in fridge at least 12 hours, stirring occasionally. This allows the fruit to macerate and release the juices.
- When you are ready to can, fill the canning pot with water, cover and bring up to boil. While waiting for the pot to boil, wash the canning jars and lids in hot soapy water. Collect your jars, lids, screw tops and canning supply starter kit on a clean towel next to the large stock pot you will use to cook down the jam.
- Once the water in the pot has boiled, reduce heat to a simmer, add the wire rack and place your jars inside to heat up. You want your jars hot when you fill them with hot jam, this helps in the sealing process.
- Add the strawberry/rhubarb/sugar mixture to your cooking pot. I use my Hexclad 8 Qt Hybrid Stockpot with lid. It's large, has a wide base and is basically no stick for easy clean up. Add lemon juice (if you are using it). Bring to a boil over medium heat, stirring regularly.
- When the mixture begins to boil, it will start to foam. Stir it every few minutes and adjust the heat. You want it just hot enough to boil. The juices will continue to boil as the jam cooks down and thickens as some of the liquid evaporates. At the 15 minute mark, add the orange rind.
- Let it continue boiling for an additional 15 minutes until the jam reaches the thicker "jelly" stage. i.e.: if you insert a spoon and hold it up, the jam will slide off the spoon, not drip individual droplets. You could also place a small saucer in the freezer, take it out, add a spoonful of jam and tip it. If it's done, it will slide slowly across the cold plate. If it runs off quickly, cook it a bit longer.Skim off any foam sitting on top of the jam.If done, turn off the burner, but continue stirring the jam frequently.
- Fill the hot jars:Take your jars out of the hot water bath and move them to your clean towel prep space beside your hot pot of jam. Using the funnel in your canning kit, and a soup ladle, fill each jar within 1/4" of the top (leaving headspace). Use a clean damp cloth and wipe the rim of the jar to ensure it's clean (or it will not seal properly). Add the lid and the screw top, Screw the lid on until finger tight only, not crushingly tight. Add the jars back to the canner. Bring the water to a boil with the lid on, process 10 minutes (15 minutes for higher elevations).
- Use the jar tongs from your canning kit to remove the jars from the hot water bath and place them on a protected surface on your kitchen counter to fully cool. I leave mine overnight.
- At this point you can remove the screw lids if you like (I leave mine on). You want to check to make sure they sealed. Gently try lifting the lid from the jar with your fingertips, or, I just tap on the lids with a wooden spoon. If there is one that sounds much different from the others, it's not sealed. Also - when you remove the jars from the hot water bath, you will start to hear them pop, this is the sealer lid clamping down and sealing. I count the pops, and then do the tap test to ensure they are sealed.
- Let the jars cool overnight, then with a damp cloth, wipe any residue from the lids. I prefer to add the labels to the lids, as I don't like cleaning them off the side of the jars once they are empty.Alternatively, I use a black sharpie to write on the lid.
NOTES:
- It is NOT advisable to double this recipe in one pot. If you do, it doubles the cook time, making your jam much darker, and harder to gel.If you want to make more, use the same ingredients in a separate pot. I start early in the morning and do one batch after another as I usually can about 26 jars each season. Just wash out your stockpot, add some water to your canning pot, and start a new batch.Do not omit any of the sugar, or it will not set properly. The tart rhubarb offsets the sweetness of the sugar.