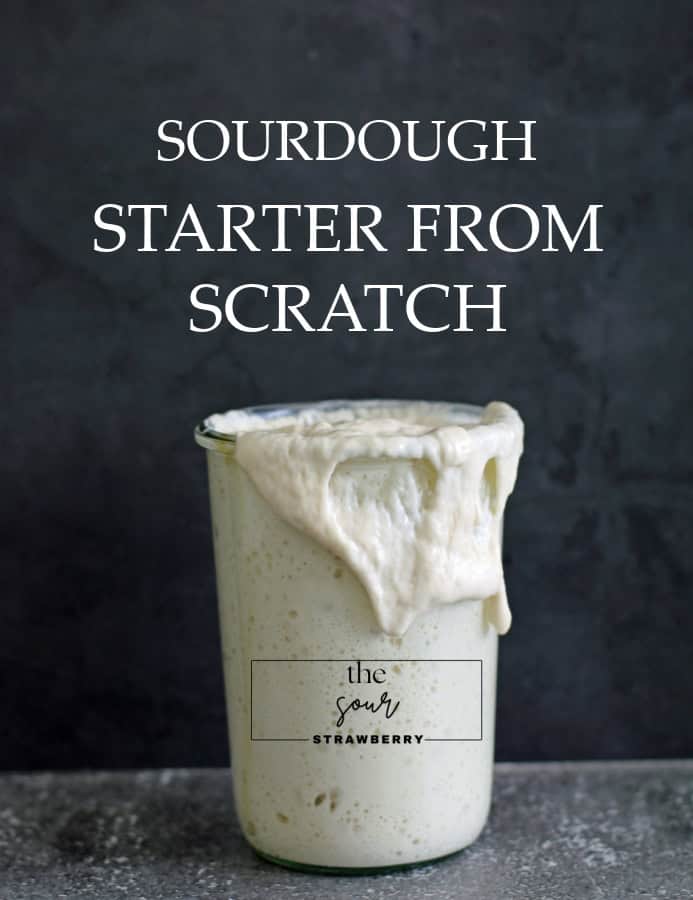
How to Rehydrate a Sourdough Starter (rehydrating your dehydrated starter).

Perhaps you purchased our dehydrated sourdough starter (and thank you for your support), or if you have dehydrated some of your own starter, here is the simple process of how to rehydrate a sourdough starter.
If you purchased a dehydrated Sourdough Starter from us – you would have received a step-by-step rehydration card with your purchase, or simply follow the steps below.

Why Dehydrated Starter?
I started dehydrating my extra mature sourdough starter. It’s a great way to protect yourself in case your current in-use starter becomes contaminated and provides you with a long-term backup. Contamination can happen, so it’s good to be prepared. I also freeze a small jar of my starter and I replace both once a year.
I bake a lot, so feed and discard my starter regularly. Instead of throwing out a perfectly good starter, I started dehydrating it and selling it to others like me who wanted to start their sourdough journey.
Rehydrating an already-established sourdough starter is much less time-consuming than growing your starter from scratch.
It’s also much easier to mail or share with others, plus you’re not giving away all your canning jars, haha.
Materials Needed to Rehydrate your Sourdough Starter:
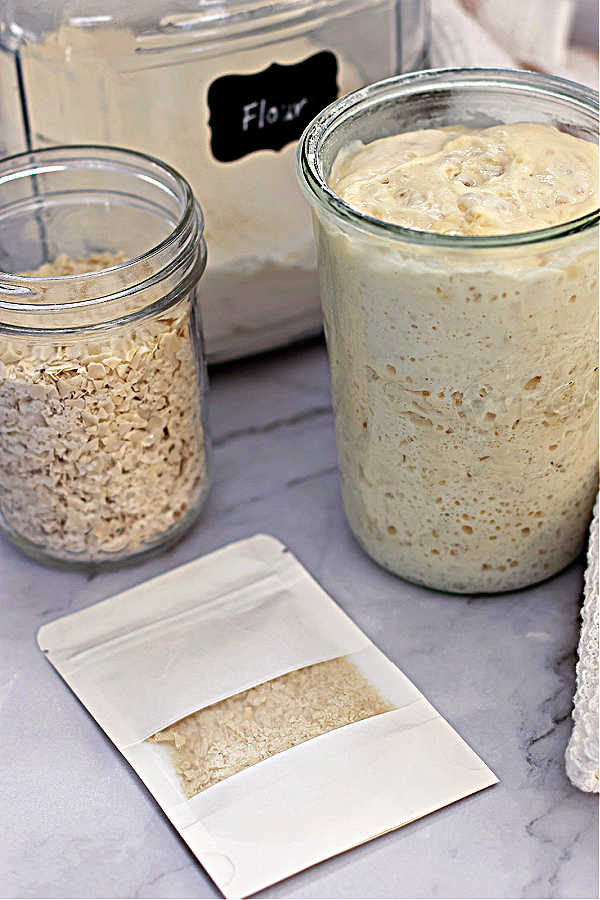
- Dehydrated Sourdough Starter
- Warm water
- All-purpose unbleached flour or bread flour
- Clean jar – mason jar – I like the Weck jars with their loose-fitting glass lids
- Digital kitchen scale
- Wooden spoon or spatula
Step-by-step Guide to Rehydrating Your Sourdough Starter:
- Day 1 – Morning – First Feeding: In a clean, dry glass jar add 20g of starter and 40g of warm filtered water. Stir until the starter is thoroughly wet. Add 40g of flour and stir again ensuring all the flour is moist.
- Example: 1:2:2 Feeding Ratio
- 20g Starter – 40g flour – 40g warm water
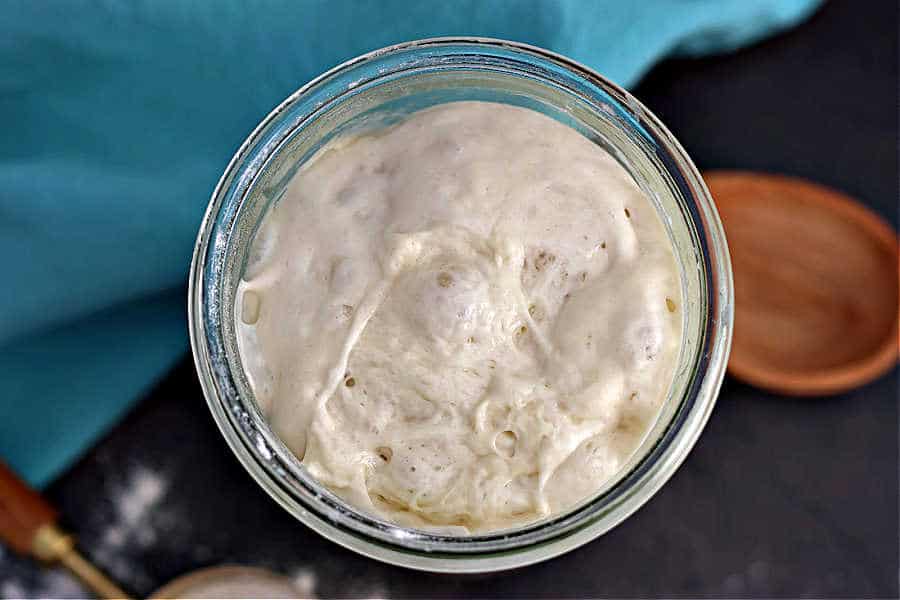
- You should have a chunky thick, pancake batter type consistency.
- Next, loosely cover your new starter. I place a folded paper towel over the top, secured with a rubber band or the glass lid for my Weck, (outer ring of you are using a canning jar). This allows air to still get in but protects the starter from dust and fruit flies.
- NOTE: Do not store your room-temperature sourdough starter in an airtight container. It creates gases and could explode.
- At this point, I like to add a piece of painter’s tape to the outside of my jar to mark the height of my starter. Before you start using it you want your starter to consistently double in size: the tape is a visual for watching that.
Finally, place your new sourdough starter in a warm place to feed. - Day 1 – Afternoon – After 12 hours, feed the starter with 50g flour and 50g warm water. Mix it thoroughly. Cover again and leave in a warm spot for 12 hours.
- Day 2 – Morning – After 12 hours, discard all but 50g of your starter. Either move 50g of starter to a new clean jar or reduce what is in your jar to 50g and throw out the rest.
- Add 50g flour and 50g warm water. Stir well and cover with a paper towel. Place in a warm spot for 12 hours to feed.
- Day 2 – Afternoon – After 12 hours, discard all but 50g of your starter. Either move 50g of starter to a new clean jar or reduce what is in your jar to 50g and throw out the rest.
- Add 50g flour and 50g warm water. Stir well and cover with a paper towel. Place in a warm spot for 12 hours to feed.
- Day 3 – Morning – After 12 hours, discard all but 50g of your starter. Either move 50g of starter to a new clean jar or reduce what is in your jar to 50g and throw out the rest.
- Add 50g flour and 50g warm water. Stir well and cover with a paper towel. Place in a warm spot for 12 hours to feed.
- Day 3 – Afternoon – Repeat Step 3 every 12 hours for 3 – 7 days. You will have a bubbly sourdough starter that consistently doubles after each feed and is ready to bake with. I have linked my Easy Beginner Sourdough Bread Recipe at the end of this post for you.
Maintaining Your Starter:
Once your starter doubles daily, store your active starter in the fridge until you are ready to bake.
Feed your starter at least once a week while stored in the refrigerator.
When you are ready to bake, remove the starter from the fridge the day before, bring it to room temperature and feed it. Once it’s at peak, it’s ready to bake with.
Tips for Rehydrating Sourdough Starter:
- Feeding Ratio: When feeding, use a consistent flour and water ratio to maintain the hydration level. If it’s runny and doesn’t seem to double daily, try a 1:2:2 ratio.
- 1 part starter – 2 parts flour – 2 parts warm water
- Example:
- 50g starter – 100g flour – 100g warm water.
- This feeding ratio will supply you with a nice, thick, robust starter.
- Be patient: Rehydration can take 3 – 7 days, especially if your house is cool. It does take a little patience and love.
- Timing: Be consistent with your feeding schedule. Stay as close to every 12 hours as possible with feeding times that fit into your schedule. I find that doing this teaches me to build my feedings into my daily routine and now it has become second nature.
- Flour: Use the same flour throughout the process. If you want to change flour, wait until your starter is completely rehydrated.
- Consistency: Depending on the flour you are using, your starter may feel a little thick or thin. Don’t worry, it will thin out as it ferments. Stick with the feeding ratios.
- Storage: Once your starter is consistently doubling, you can store it in the fridge and feed it once a week or store it on the counter and feed it daily if you are planning to bake a lot.
- Cleaning Tools: Clean your tools immediately, e.g., a wooden spoon or spatula, dirty jars. The starter is like glue when it dries. Wipe as much as you can off with a paper towel, then wash in a bowl of warm water. DO NOT PUT THE STARTER/WATER DOWN YOUR SINK DRAIN. We pour our cleaning water out on the grass in the back yard.
Other Useful Topics:
If you are interested in starting your own starter from scratch – you’ll find my Easy Step-by-Step instructions and videos here.
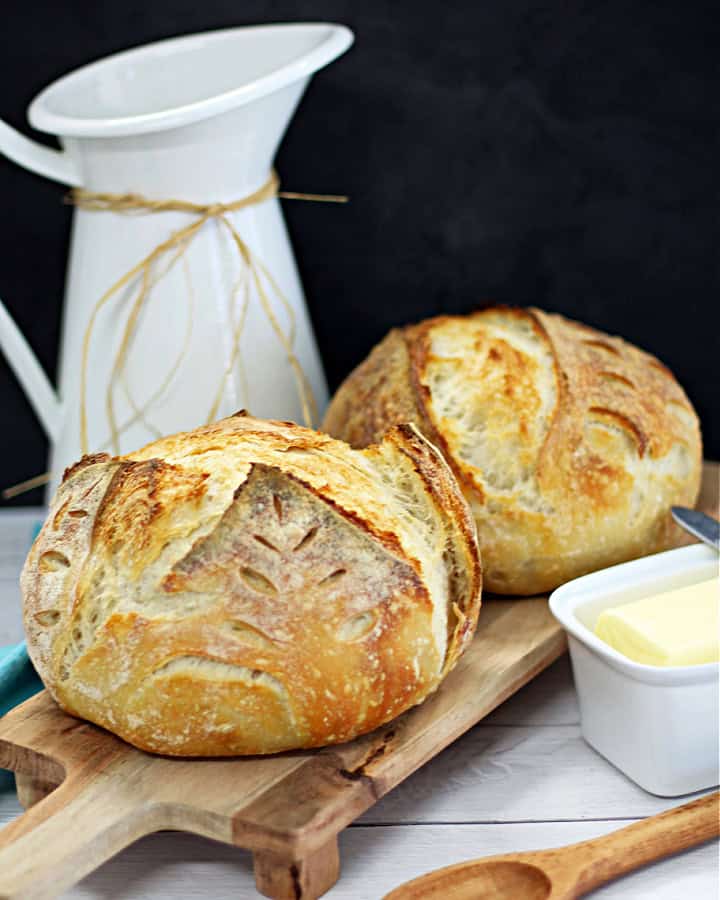
When your Sourdough Starter is ready to make bread – try my Easy Beginner Sourdough Bread Recipe
Confused by all the weird sourdough lingo? Read my Sourdough Terminology Page.
Visit my Amazon page, where I list the products I love to use in my kitchen:
Compensated affiliate links used were available at no cost to you. View my Disclosure Page here:


- Follow me on INSTAGRAM
- Find me on FACEBOOK
- Subscribe to my YOUTUBE CHANNEL
- Pin my latest recipes on PINTEREST